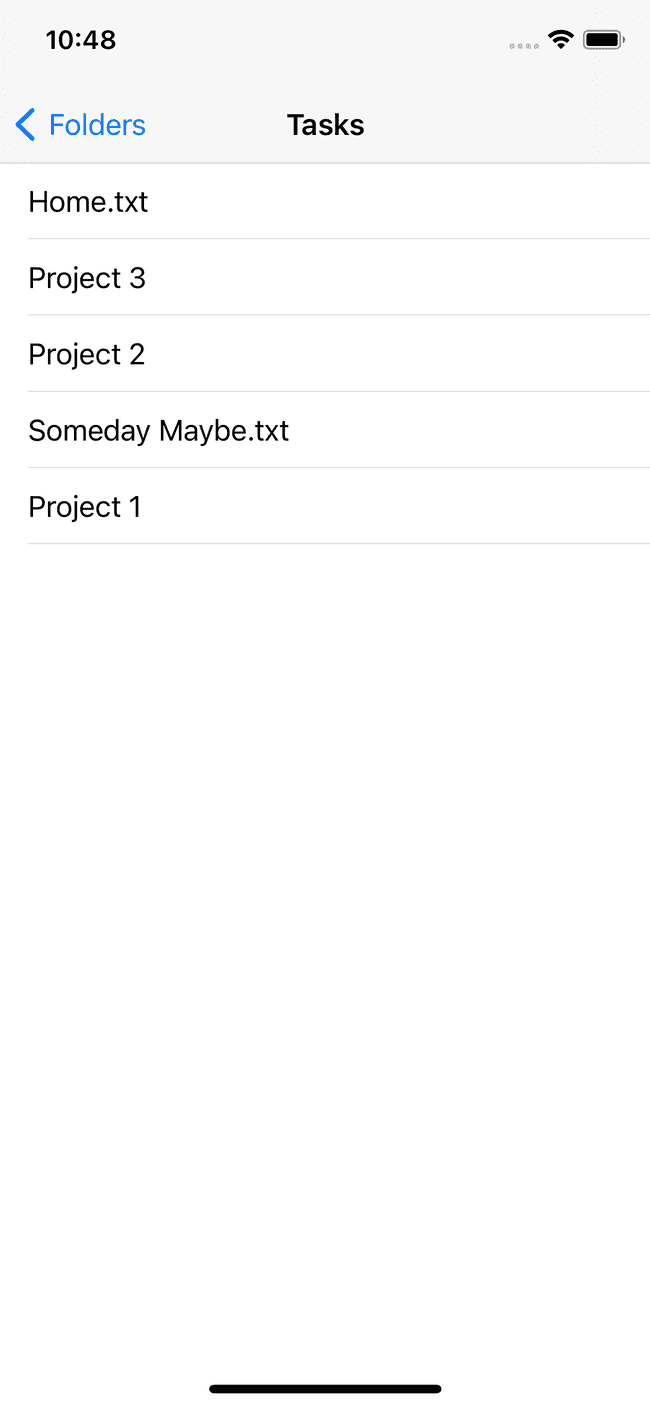
Last time we made an app that allows the user to select multiple folders and save them using bookmarks. It displays those bookmarks in a list. And the user can delete them from the list by swiping. Now, let’s make it a bit more interesting by showing the user the contents of the folder when they tap on it. And we’ll show an icon depending on whether it’s a folder or a file.
Make the DetailView
First, let’s make the view that will display the details of a folder. Make a new SwiftUI view called DetailView.swift that takes in a URL. Add a list with a NavigationTitle. To show the navigation title in the preview, wrap DetailView in a NavigationView in the previews.
import SwiftUI

struct DetailView: View {
    var url: URL
	// TODO: get the files in the directory

    var body: some View {
        List {
            // TODO: loop over the actual files here
            Text("Work")
            Text("Personal")
            Text("Home")
        }
        .navigationTitle(url.lastPathComponent)
        .navigationBarTitleDisplayMode(.inline)
    }
}

struct DetailView_Previews: PreviewProvider {
    static var previews: some View {
        NavigationView {
            DetailView(url: URL(string: "path/to/Notes")!)
        }
    }
}
Make a FileController
We need to get all the files in this directory, so let’s make a file called FileController.swift with a function called getContentsOfDirectory that takes in a URL and returns an array of URLs.
import Foundation

class FileController: ObservableObject {
    func getContentsOfDirectory(url: URL) -> [URL] {
        do {
            return try FileManager.default.contentsOfDirectory(at: url, includingPropertiesForKeys: nil)
        } catch {
            print(error)
            return []
        }
    }
}
To add this to the environment, go back to BookmarkDirectoriesApp.swift and add an instance of this class to the environment just like we did with the BookmarkController earlier:
import SwiftUI

@main
struct BookmarkDirectoriesApp: App {
    @StateObject var bookmarkController = BookmarkController()
    @StateObject var fileController = FileController()

    var body: some Scene {
        WindowGroup {
            ContentView()
                .environmentObject(bookmarkController)
                .environmentObject(fileController)
        }
    }
}
Now, in DetailView.swift, we can use the FileController by adding it as an environment object. To call the FileController’s method everytime this view loads, we can call it with onAppear(). We can save the results of this in a state variable called urls. Then you can show the actual files in the list.
import SwiftUI

struct DetailView: View {
    var url: URL
    @State var urls: [URL] = []
    @EnvironmentObject var fileController: FileController

    var body: some View {
        List {
            ForEach(urls, id: \.self) { url in
                Text(url.lastPathComponent)
            }
        }
        .onAppear {
            urls = fileController.getContentsOfDirectory(url: url)
            print(urls)
        }
        .navigationTitle(url.lastPathComponent)
        .navigationBarTitleDisplayMode(.inline)
    }
}

struct DetailView_Previews: PreviewProvider {
    static var previews: some View {
        NavigationView {
            DetailView(url: URL(string: "path/to/Notes")!)
			    .environmentObject(FileController())
        }
    }
}
Add Navigation Links
Now we can link to the detail view from ContentView.swift:
Instead of showing Text in the list, use a NavigationLink.
ForEach(bookmarkController.bookmarks, id: \.uuid) { uuid, url in
    NavigationLink(url.lastPathComponent, destination: DetailView(url: url))
}
Now, when you run the app and tap on a folder, it will show you the files and folders inside that folder. Nice!
Add icons
But before we call this done, I would like to add a little folder icon next to each folder and a document icon next to each document. If you look at the documentation for contentsOfDirectory(at:includingPropertiesForKeys:options:), it says that the keys parameter lets you specify what kind of information you want about each URL. That sounds exactly like what I want. It takes an array of URLResourceKeys. Looking at the page on URLResourceKey]s, if you search for “directory”, you’ll find a key called isDirectoryKey.
So let’s modify our getContentsOfDirectory() method to return an array of tuples so that we have a URL and a boolean telling us if it’s a directory or not:
func getContentsOfDirectory(url: URL) -> [(url: URL, isDirectory: Bool)] {
    if isPreview {
       return [
            (URL(string: "Notes/Books")!, false),
            (URL(string: "Notes/Home")!, true)
       ]
    }

    do {
        let urls = try FileManager.default.contentsOfDirectory(at: url, includingPropertiesForKeys: [.isDirectoryKey])
        return urls.map({ url -> (url: URL, isDirectory: Bool) in
            do {
                let resourceValues = try url.resourceValues(forKeys: [.isDirectoryKey])
                return (url, resourceValues.isDirectory!)
            } catch {
                return (url, false)
            }
        })
    } catch {
        print(error)
        return []
    }
}
In DetailView.swift change our state variable from urls to items and change the type to match the return type from the function.
@State var items: [(url: URL, isDirectory: Bool)] = []And change the ForEach to show either a folder or a document icon next to each name.
ForEach(items, id: \.url) { item in
    HStack {
        item.isDirectory
            ? Image(systemName: "folder")
            : Image(systemName: "doc")
        Text(item.url.lastPathComponent)
    }
}
When you run the app and tap on the folder, we now have icons next to each item showing whether it’s a folder or a file.
Fix the preview
The preview in Xcode looks empty because the function returns an empty array. Let’s add a flag in the FileController’s initializer that lets it know that we’re in preview mode so it can give us some example data.
var isPreview: Bool

init(isPreview: Bool = false) {
    self.isPreview = isPreview
}
And at the top of getContentsOfDirectory, add some code to return example data if isPreview is true.
if isPreview {
   return [
        (URL(string: "Notes/Books")!, false),
        (URL(string: "Notes/Home.md")!, true)
   ]
}
In DetailView.swift change the preview code to pass true to isPreview.
struct DetailView_Previews: PreviewProvider {
    static var previews: some View {
        NavigationView {
            DetailView(url: URL(string: "path/to/Notes")!)
                .environmentObject(FileController(isPreview: true))
        }
    }
}